You do not miss groundstrokes because you suddenly forgot your forehand. You miss because your contact point moved, your spacing broke down, or your body arrived late. That is why the best drills for contact point are not random feeding exercises. They train where the ball meets the racquet, when it happens, and how your body organizes itself to make that contact repeatable under pressure.
For players and coaches, this is the difference between temporary improvement and real correction. Contact point is not a minor detail. It is the checkpoint that exposes everything – footwork, timing, balance, swing path, and decision-making. Fix it, and strokes clean up fast. Ignore it, and players keep chasing surface-level tips that never hold up in matches.
Why contact point breaks down so often
Most players think of contact as a hand problem. It is usually not. Contact point is driven by position and timing first. If the player is too close, jammed contact shows up. If the player is too far, the arm reaches and the racquet face loses stability. If the player is late, contact drifts back. If the player over-rotates early, the strike gets pulled off line.
This is why good players look simple. They are not guessing at contact. They are arriving with the right distance from the ball and the right body shape before the racquet gets there.
There is also no single perfect contact point for every shot. A neutral rally forehand, a heavy crosscourt backhand, and a high defensive ball all require slightly different positioning. The common thread is control. The player must know where the contact should happen for that specific ball and be able to reproduce it.
The best drills for contact point start with awareness
Before speed, before power, before live ball pressure, the player needs to feel correct contact. That means using drills that remove noise and force clarity. If a drill lets the player get away with poor spacing, it is not fixing contact point. It is hiding the issue.
The seven drills below work because each one isolates a common breakdown and gives the player a direct way to correct it.
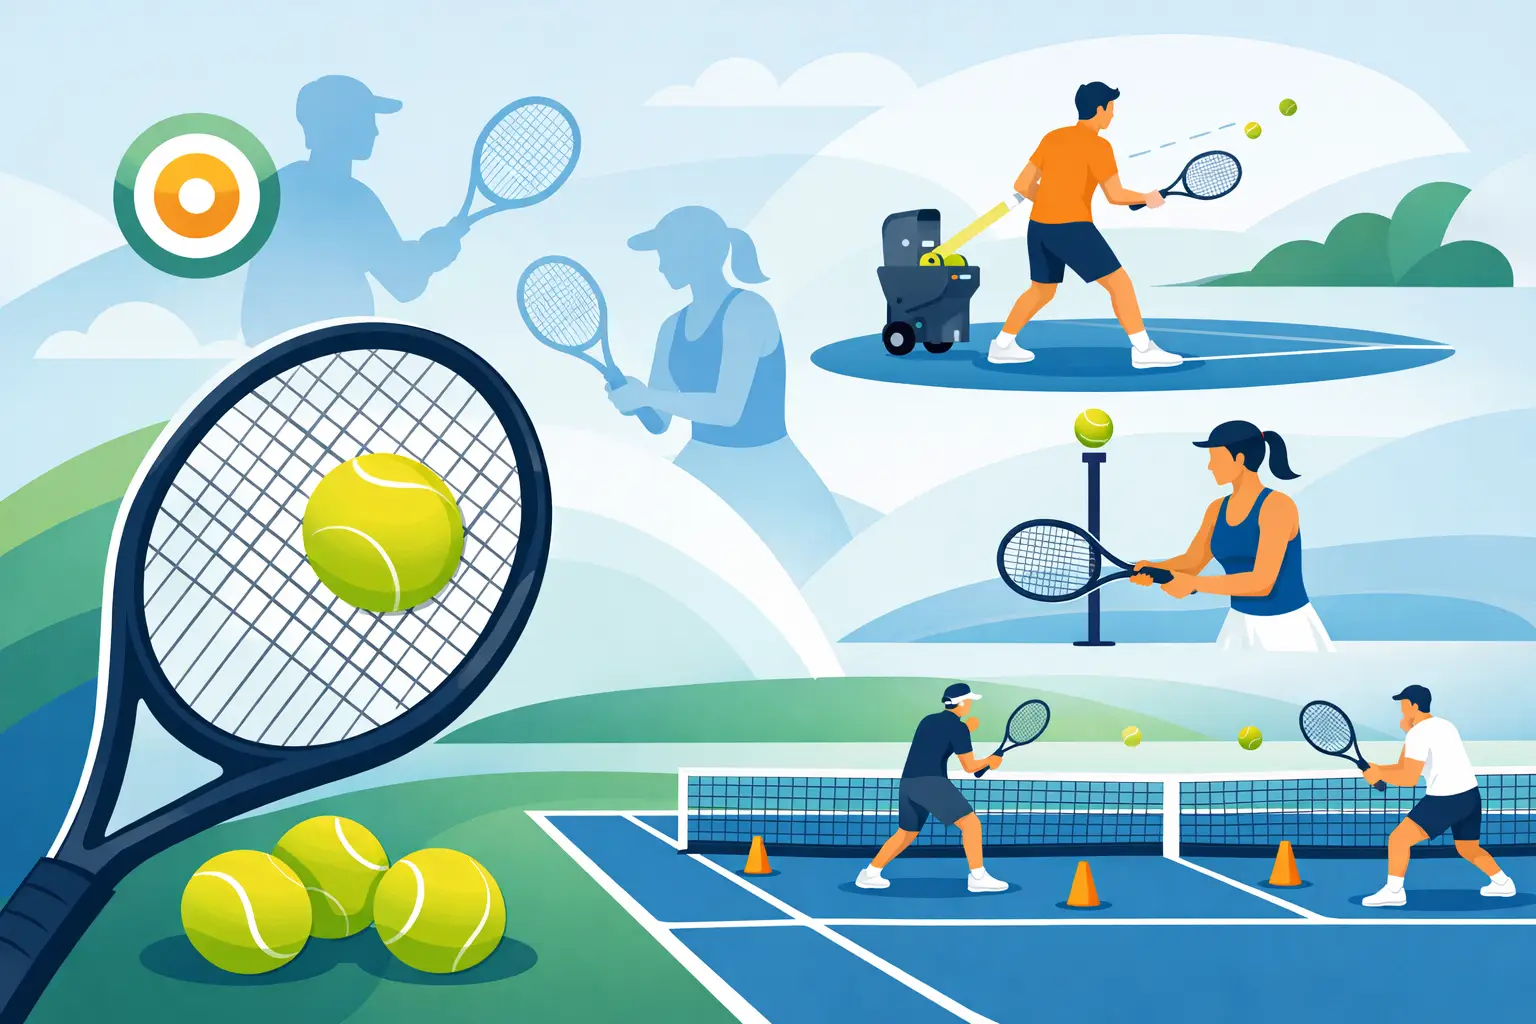
1. Shadow swing with a fixed contact target
This is the starting point because most players have never clearly defined where contact should be. Stand in ready position and place a visual target at the ideal strike zone – slightly in front for the forehand, comfortably in front and to the side for the two-handed backhand, depending on stance and ball height.
Shadow the stroke slowly and stop exactly at the contact point. Hold it for two seconds. Check spacing from the body, arm structure, chest position, and head stability. Then repeat at full swing speed without hitting a ball.
This drill looks basic, but it exposes bad patterns immediately. If the hand is too close to the body or drifting too far out, the player sees it. If the chest is opening too early, it is obvious. Repetition builds a reference point, and reference points are what let players self-correct.
For coaches, this is where fast technical change begins. You cannot repeat what you have not clearly identified.
2. Drop feed drill for clean front-of-body contact
A player who cannot control contact on a self-drop will not control it in a rally. Drop feed drills remove incoming-ball complexity and force ownership of spacing and timing.
Start with forehands. Drop the ball, let it fall into a comfortable strike zone, and focus on meeting it in front of the front hip with a stable racquet face. Then do the same on the backhand side. The goal is not power. The goal is a clean strike with the body balanced and the ball leaving the strings from the intended contact location.
This drill is especially useful for players who are consistently late. Because the ball is self-controlled, there is no excuse. If contact still happens too far back, the swing preparation is late or the player is misjudging distance.
A small trade-off matters here. If you only do stationary drop feeds, you can improve awareness without improving movement. That is why this drill should be a foundation, not the full answer.
3. Freeze-at-contact fed ball drill
This is one of the best drills for contact point because it combines real ball timing with immediate feedback. A coach or partner feeds a moderate-paced ball. The player swings, but instead of finishing normally, freezes right at or just after contact.
That pause tells the truth. Was the ball too close to the body? Was the hitting arm collapsed? Was the player falling backward? Did contact happen beside the body instead of in front?
On forehands, this drill cleans up late preparation and over-rotation. On backhands, it helps players stop crowding the ball. It also gives coaches a simple visual checkpoint instead of trying to fix five things after a full-speed rally.
If the player is advanced, vary the feed slightly. Low ball, shoulder-high ball, wider ball. Contact point should adjust, but the structure should still look organized.
4. Spacing drill with recovery steps
Many contact problems are not swing problems at all. They are movement problems. The player starts too close, recovers poorly, then improvises at the last second.
Set a center recovery mark. Feed alternately to the forehand and backhand. The player must recover, create space, and strike from a stable distance every time. Put special attention on the first adjustment step after the split step. That first move often decides whether contact is clean or compromised.
This is where Mili’s Split Method stands apart. The split step is not treated as a generic athletic habit. It is taught as the timing mechanism that organizes spacing before contact breaks down. When that timing is correct, contact becomes predictable. When it is late, everything downstream gets harder.
Players usually feel immediate improvement here because they stop reaching for the ball. Coaches should watch whether the athlete keeps the same relationship to the ball on both wings. Many do not. One side is often consistently jammed.
5. Cone gate drill for ideal strike distance
Place a narrow cone gate or visual lane where the ball should be contacted. The fed ball must be struck through that gate. This gives the player a simple external objective instead of a vague internal thought.
External targets speed up learning. Telling a player to “get contact farther in front” can be misunderstood. Telling that same player to send the ball through a gate positioned at the correct strike zone is precise.
This drill works especially well for junior players and for adults who overthink mechanics. It also helps coaches measure whether the player can repeat correct contact under modest pressure.
The key is not making the gate too forgiving. If the target area is huge, poor contact still sneaks through. Keep it honest.
6. Live rally with call-the-contact drill
Once a player can find correct contact in controlled settings, awareness must survive in a rally. During crosscourt or cooperative rallies, the player calls out a cue at contact such as “front,” “high,” or “wide.” This forces real-time recognition of where the strike occurred.
Why does this matter? Because many players are unaware of bad contact until after the miss. By then, the correction is late. Calling the contact builds immediate awareness, which is what match play demands.
There is an important it-depends factor here. For newer players, too much verbal cueing can make the stroke stiff. For advanced players and coaches in training, it sharpens perception quickly. Use it as a focused block, not for an entire session.
7. Open-stance to neutral-stance contrast drill
Some players struggle with contact because they use one stance for every ball. That is a mistake. Different balls require different body organization. Feed one ball that suits an open stance, then one that requires stepping in more neutrally. The player must maintain the correct contact point in both situations.
This drill teaches adaptability without losing structure. On the open-stance ball, contact may be slightly more out to the side while still in front. On the neutral-stance ball, the body can move more through the shot. The player learns that contact point is not fixed like a statue, but it is never random.
This is a major separator between players who look good in basket feeding and players who hold up in competition. Match balls are not identical. Your contact point discipline still has to be.
How to know the drills are working
You do not judge contact-point training by how smooth it looks in one short clip. You judge it by whether mishits decrease, timing improves on both wings, and the player can recover the same strike position under different feeds.
A solid checkpoint is ball quality. Clean contact produces a different sound, a more stable trajectory, and less last-second wrist compensation. Another checkpoint is repeatability. If the player can do it only on slow feeds, the skill is not built yet.
For coaches, the real test is transfer. Does the player keep the contact point in live rally situations, on the run, and under score pressure? If not, the drill progression needs tightening.
The fastest improvements happen when you stop treating contact as a mystery and start training it as a measurable event. Build the right spacing, define the strike zone, and demand repeatable positions. Once the player owns that, the ball starts coming off the strings the way it should – clean, confident, and on time.